Raspberry Pi 4 Boosts DIY Projects with 8GB RAM
Cambridge, Thursday, 10 October 2024.
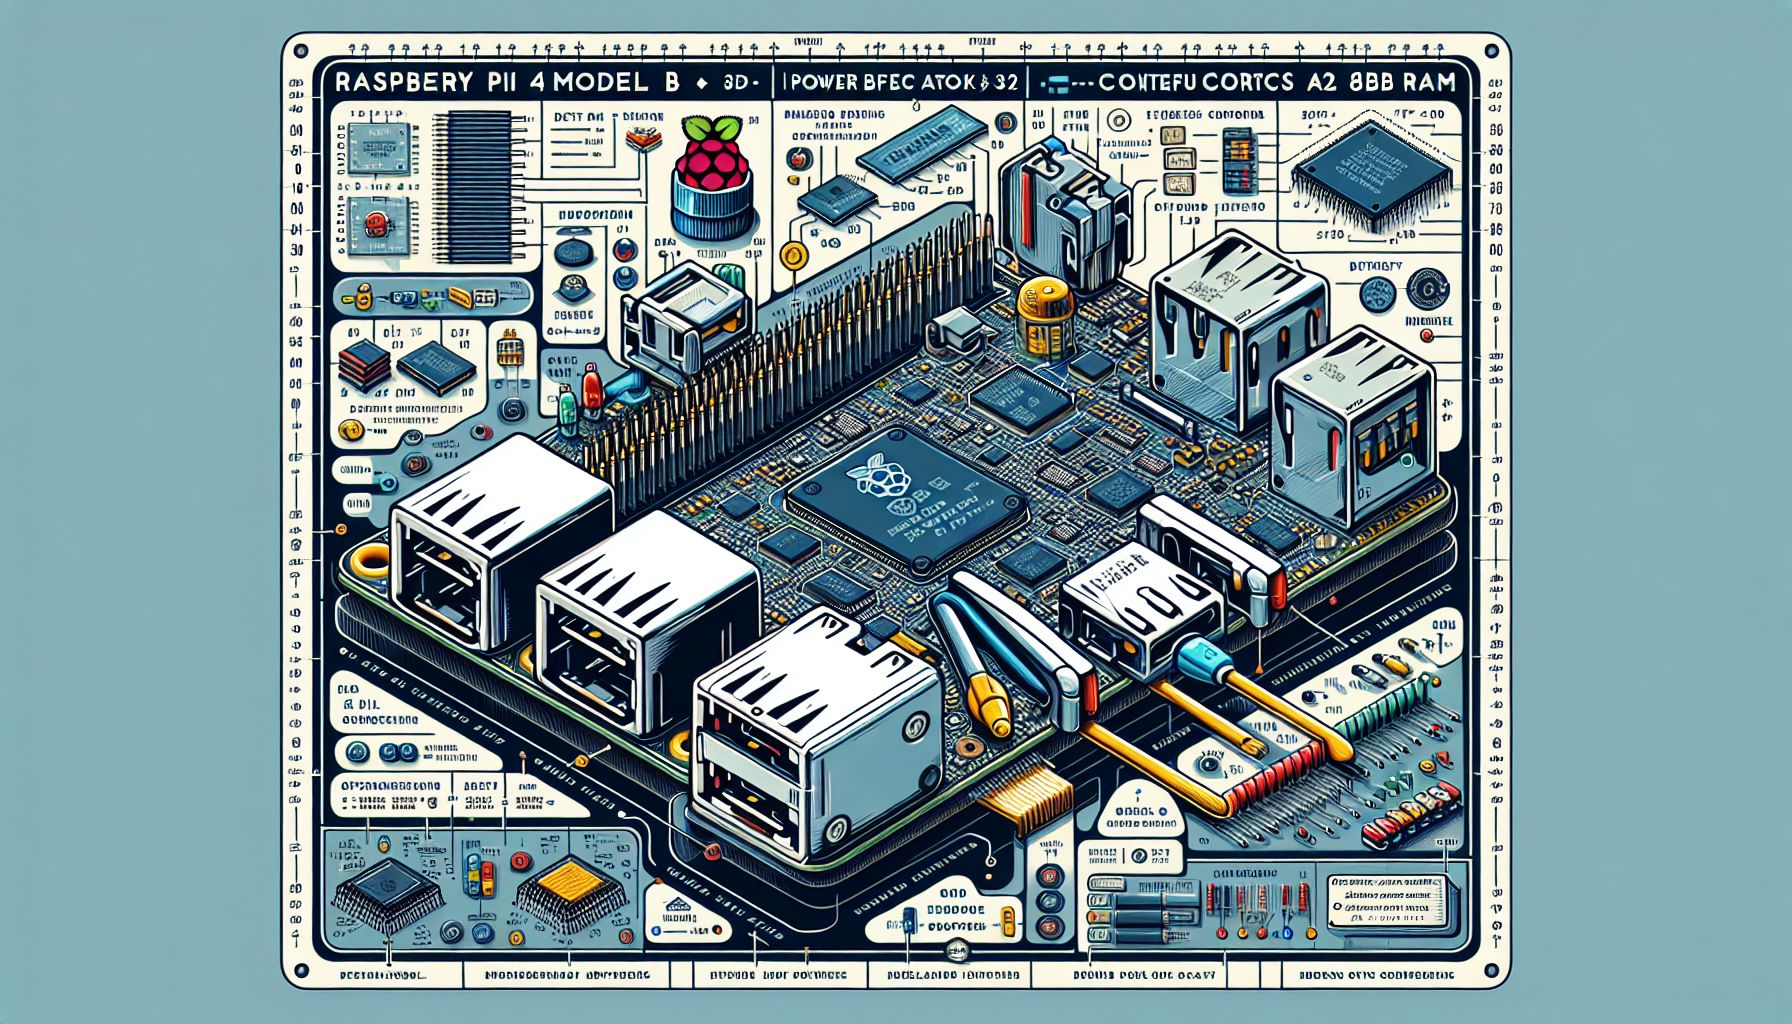
The Raspberry Pi 4 Model B with 8GB RAM is now available, expanding possibilities for DIY electronics enthusiasts. This single-board computer, powered by a Cortex A72 processor, enables complex tasks and innovative personal projects, offering enhanced performance for makers and hobbyists.
Unleashing Potential with Raspberry Pi 4
The introduction of the Raspberry Pi 4 Model B with 8GB RAM marks a significant milestone in the world of DIY electronics. Featuring a Cortex A72 processor, this single-board computer offers a substantial upgrade in processing power and memory capacity, making it ideal for a wide range of innovative projects. Whether you’re developing a portable computer, a home automation system, or a complex IoT device, the Raspberry Pi 4 provides the necessary resources to bring your creations to life. Its robust specifications support multitasking and handling of demanding applications, making it a versatile tool for both beginners and seasoned makers.
Project Concept: Building a Portable Cyberdeck
One exciting project that utilizes the Raspberry Pi 4’s capabilities is the construction of a portable cyberdeck. Inspired by the cyberpunk aesthetic, a cyberdeck is a compact, self-contained computer system. For this project, the Raspberry Pi 4 serves as the system’s core, housed within a durable Pelican 1150 case. The goal is to create a sleek, portable device capable of running cybersecurity scripts, handling network tasks, and serving as a general-purpose computing device. With components including a USB battery pack, a robust cooling system, and a portable screen, this project demonstrates the Raspberry Pi 4’s ability to support versatile and mobile computing environments[2].
Step-by-Step Guide to Building Your Own Cyberdeck
To embark on this project, gather the following components: a Raspberry Pi 4 Model B with 8GB RAM, a Pelican 1150 case, a USB battery pack, a small screen compatible with HDMI, cooling fans, green and red LEDs for status indication, a portable keyboard, and necessary cables and connectors. Begin by securing the Raspberry Pi within the Pelican case, ensuring all ports are accessible. Install the cooling fans to maintain optimal temperature during operation. Connect the screen and battery pack, and configure the LEDs to display power and charging status. Utilize 3D-printed components for custom mounts and holders, enhancing the device’s functionality and aesthetics. Code snippets for this project can be found on GitHub, providing a starting point for setting up the Raspberry Pi and integrating the necessary software tools[2].
Enhancing Performance and User Experience
For optimal performance, consider using a high-speed SD card, such as the official Raspberry Pi A2-Class microSD card, which ensures fast data transfer rates and reliable operation. Additionally, installing a lightweight desktop environment like XFCE4 can enhance the user experience, allowing the Raspberry Pi to run smoothly even when multitasking. This setup is perfect for users who need basic web browsing, email access, and media playback without taxing the system’s resources. For more advanced users, connecting an SSD instead of an SD card can significantly improve boot times and overall performance, making the Raspberry Pi 4 an even more powerful tool for DIY enthusiasts[6].