Resistor Mix-Up in LED Circuit Design: A 110-Ohm vs 110M Dilemma
Global, Friday, 29 November 2024.
A critical analysis of resistor selection in LED power boards reveals how a simple ordering mistake between a 110-ohm and 110M-ohm resistor impacts circuit performance and safety. This case study demonstrates the importance of precise component specification in electronics design, highlighting potential risks and troubleshooting approaches for power distribution systems.
Understanding Resistor Values and Their Impact
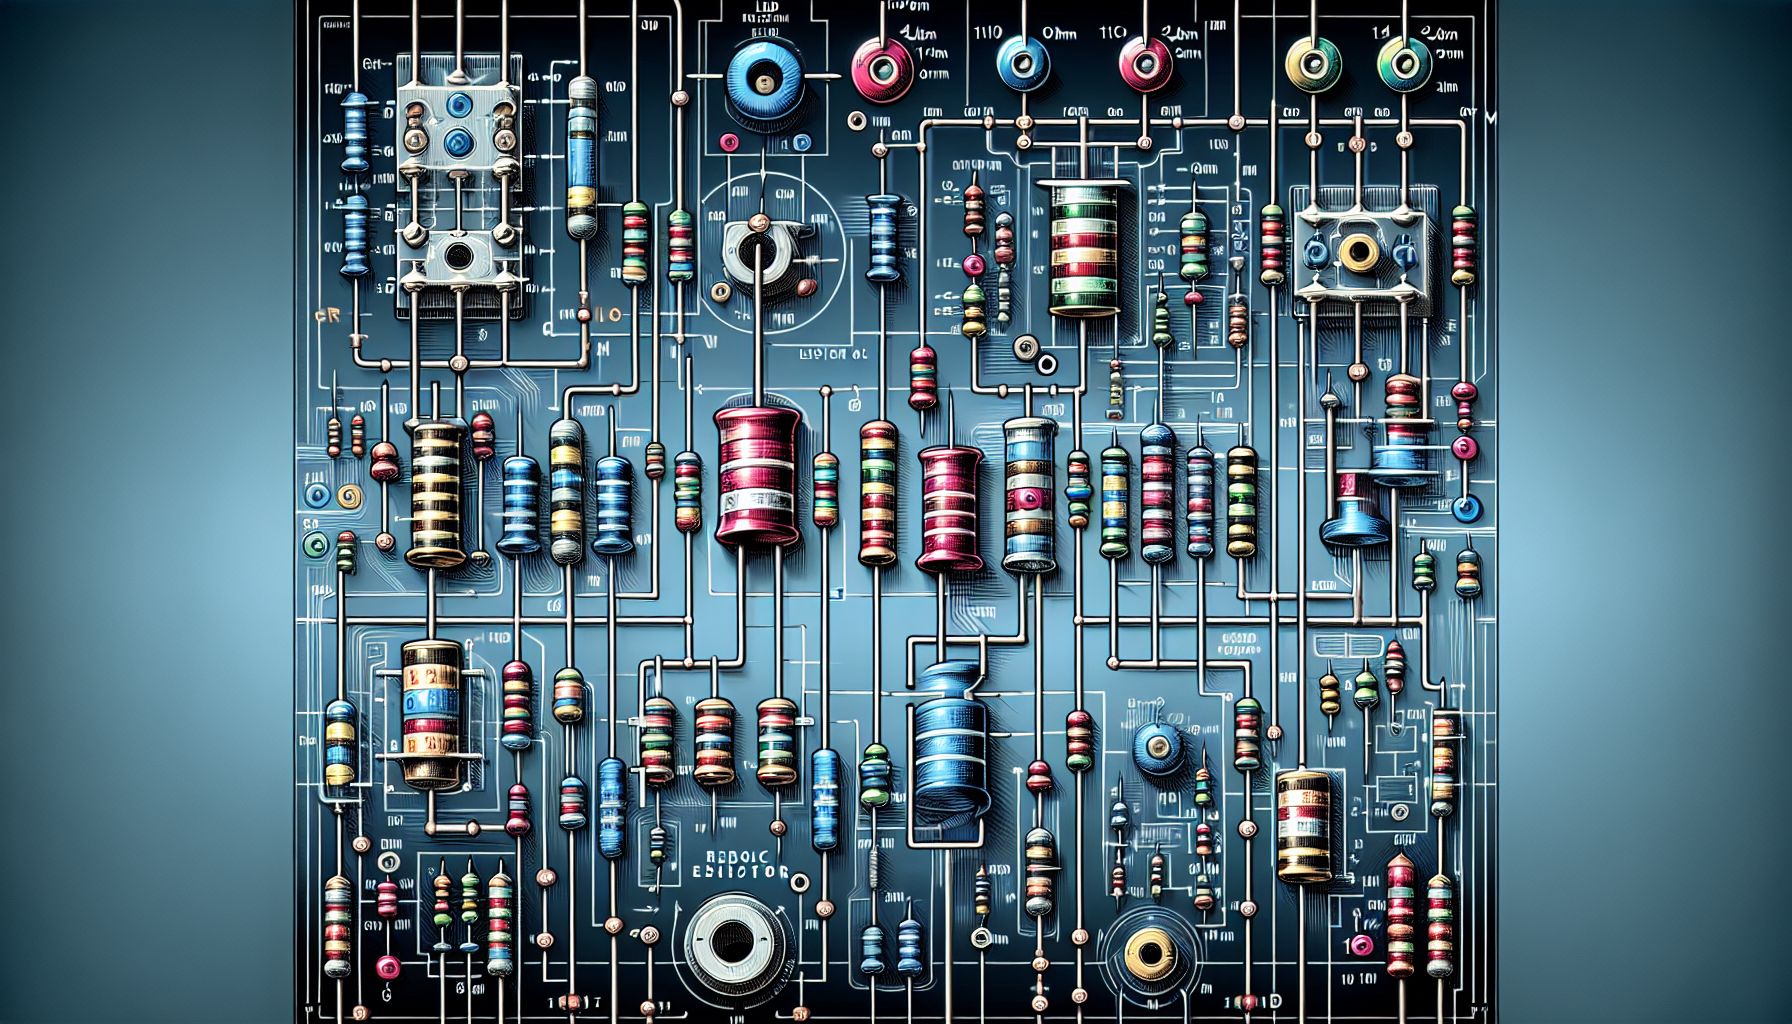
Resistors are fundamental components in electronic circuits, serving to limit current flow and divide voltages. The distinction between a 110-ohm and a 110M-ohm resistor is profound, with each serving vastly different purposes in circuit design. A 110-ohm resistor allows a greater flow of current compared to a 110M-ohm resistor, which significantly restricts current flow. This difference can lead to substantial variations in circuit behavior, impacting both functionality and safety. In the context of LED power boards, selecting the incorrect resistor value can lead to overcurrent, potentially damaging components or causing circuit failure[1].
The Case of the Misordered Resistor
In a practical scenario discussed on a popular electronics forum, an engineer ordered a 110-ohm resistor instead of the intended 110M-ohm for their LED power board. This mix-up occurred during the ordering process from a manufacturing service, highlighting the critical nature of precise specification in electronic component selection. The immediate concern was whether this mistake would lead to overcurrent issues, posing risks to the LED panels powered by a 5V 8A adapter. The potential damage from such an error underscores the need for rigorous verification of component values before installation[2].
Troubleshooting and Problem-Solving Approaches
Correcting a resistor mix-up involves several troubleshooting steps. First, examining the schematic diagram of the circuit is essential to understand how the resistor interacts with other components. A schematic provides a clear visual representation of the circuit’s electrical connections, aiding in identifying potential points of failure[3]. In this case, replacing the incorrect resistor with the correct one is crucial. Engineers often use tools like Ohm’s Law calculators to verify the expected current and voltage levels, ensuring all components operate within their safe limits[4].
Practical Applications and Future Precautions
This incident serves as a valuable lesson for electronics engineers, emphasizing the importance of double-checking component orders and understanding the implications of resistor values in circuit design. In future projects, implementing a checklist for component verification and using simulation software to model circuit behavior before assembly can prevent similar errors. Additionally, learning resources such as textbooks on circuit design and online courses can enhance engineers’ knowledge, enabling them to make informed decisions in component selection and circuit troubleshooting[5].